

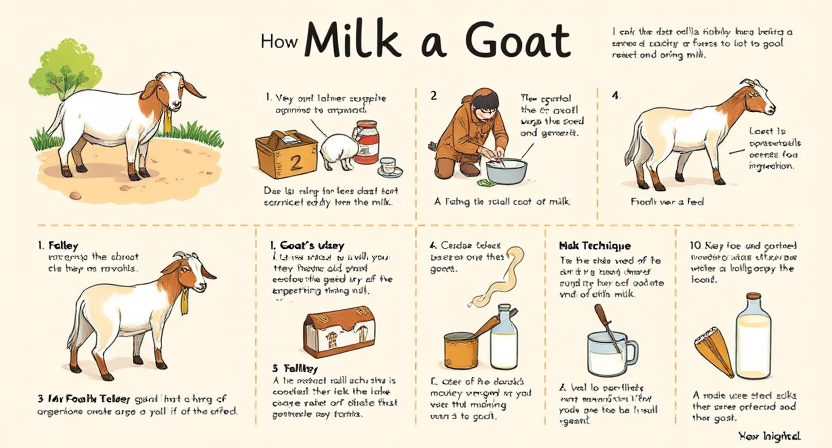
How to Milk a Goat: Step-by-Step Instructions
Gathering the necessary supplies
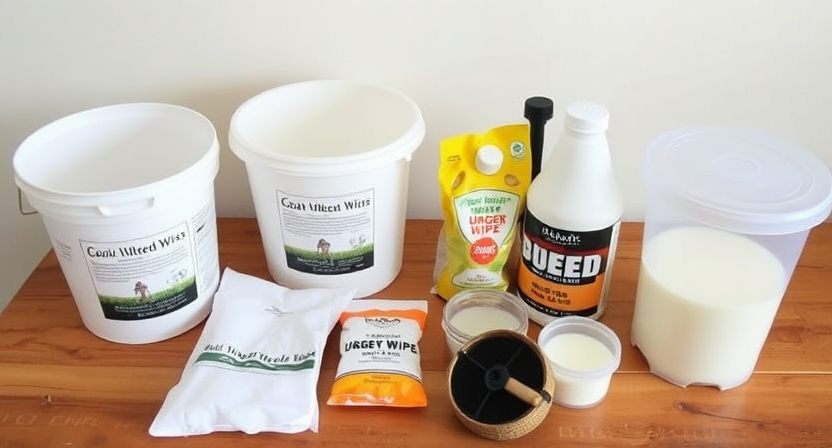
To successfully milk a goat, it is essential to gather all the necessary supplies beforehand. Items such as a clean bucket, milking stand or secure tying area, udder wipes, teat dip, and a storage container for the milk are indispensable. It is also crucial to have a gentle but firm grip, as well as patience and a calm demeanor during the milking process.
In addition to the basic equipment, it is also beneficial to have a stool or seating arrangement for the milker to ensure comfort and stability during milking. Having all supplies easily accessible before beginning the milking process can help streamline the task and create a more efficient workflow. By being well-prepared and organized, the milking experience can be both productive and stress-free for both the goat and the milker.
• Clean bucket
• Milking stand or secure tying area
• Udder wipes
• Teat dip
• Storage container for milk
In addition to the basic equipment, having a stool or seating arrangement can provide comfort and stability during milking. By ensuring all supplies are easily accessible before starting, the process can be streamlined for efficiency. Being well-prepared and organized can make the milking experience productive and stress-free for both the goat and the milker.
Preparing the milking area
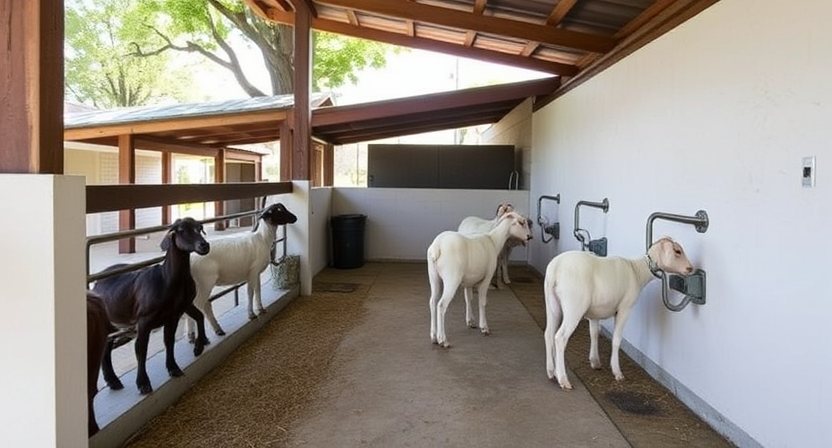
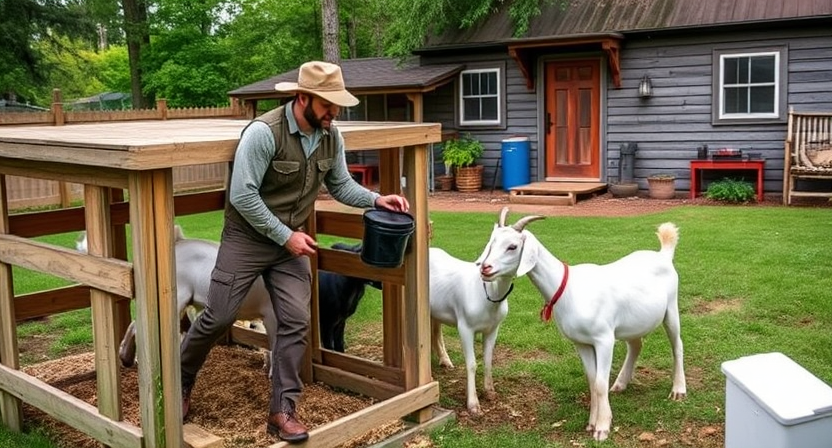
Once you have gathered all the necessary supplies for milking your goat, it is crucial to prepare a clean and comfortable milking area. Start by selecting a designated spot that is quiet, well-lit, and free from distractions. Ensure that the area is sheltered from any harsh weather conditions and is easily accessible for both you and the goat.
Next, lay down clean bedding such as straw or mats to provide a soft and hygienic surface for the goat to stand on during the milking process. Make sure that the area is well-ventilated to maintain a fresh environment and reduce the risk of contamination. Having a well-organized and calm milking area will not only make the process smoother for you but also help keep the goat relaxed and cooperative during milking.
• Select a designated spot that is quiet, well-lit, and free from distractions
• Ensure the area is sheltered from harsh weather conditions
• Lay down clean bedding such as straw or mats for a soft surface
• Maintain good ventilation in the milking area
• Keep the area well-organized and calm to help keep the goat relaxed during milking
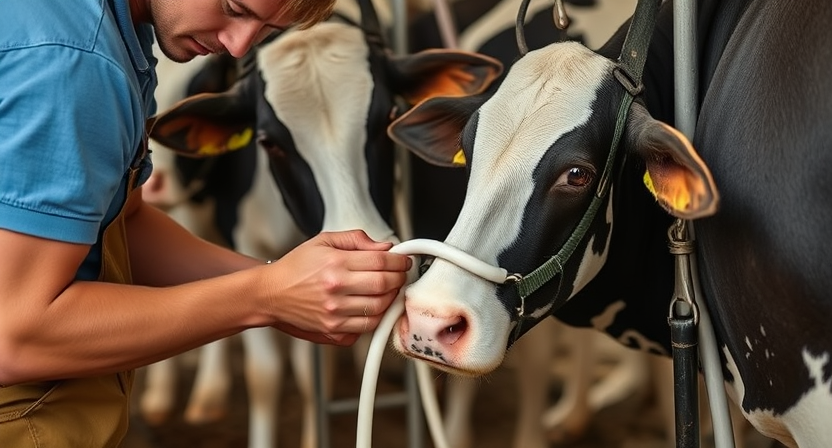
Approaching the goat calmly
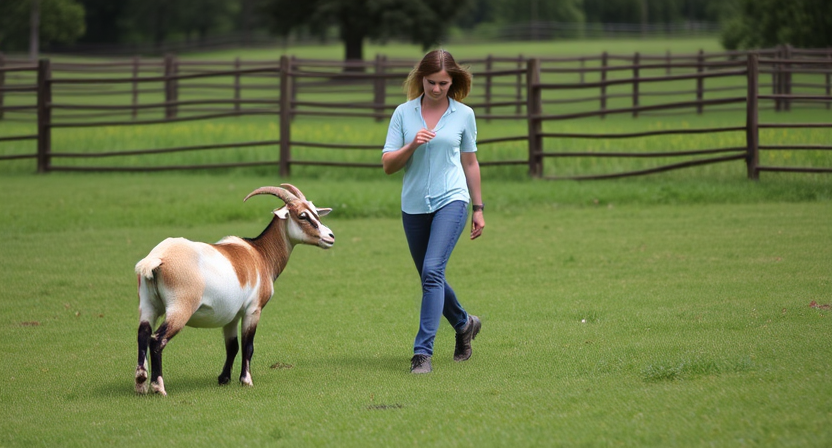
Approaching the goat calmly is essential for a successful milking session. Goats are sensitive animals and can easily get spooked if approached too quickly or aggressively. When approaching the goat, move slowly and avoid sudden motions that might startle them. Take a few deep breaths to stay calm yourself, as animals can pick up on human emotions.
It’s important to remember that goats are intelligent creatures with their own individual personalities. Approach each goat with respect and gentleness, establishing trust and a positive relationship. By showing the goat that you are not a threat and are there to provide care, you’ll create a more cooperative and relaxed milking experience for both you and the goat.
• Move slowly and avoid sudden motions
• Take deep breaths to stay calm
• Approach with respect and gentleness
• Establish trust and a positive relationship
• Show the goat that you are not a threat
Securing the goat in place
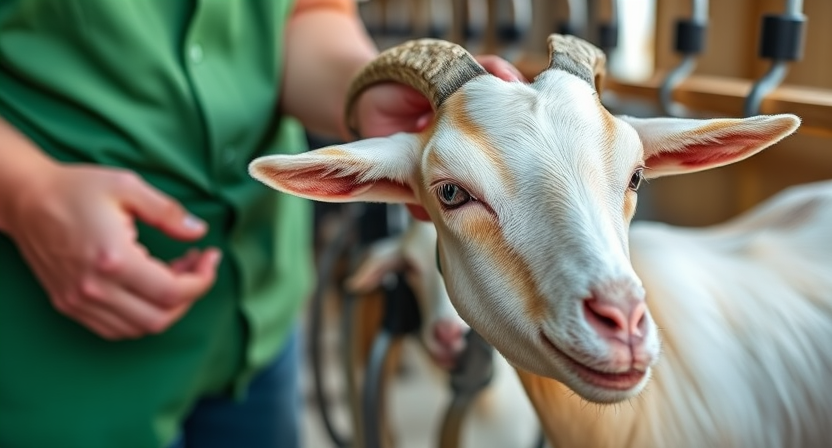
Once the goat is calmly approached and in a suitable position for milking, it is essential to secure the goat in place to prevent any sudden movements that could disrupt the process. This can be achieved by gently but firmly restraining the goat by its collar or tying it to a stable structure nearby. Ensuring that the goat is safely secured will not only make the milking process smoother but also reduce the risk of any accidents or injuries occurring.
Securing the goat in place also allows the milker to have better control over the situation, making it easier to access the udder and teats without any unnecessary movements from the goat. It is important to make sure that the goat is comfortable and that the restraint used is not causing any distress to the animal. By securing the goat properly, the milker can focus on the task at hand and ensure a more efficient and stress-free milking experience for both the goat and the milker.
• Once the goat is calmly approached and in a suitable position for milking, it is essential to secure the goat in place
• This can be achieved by gently but firmly restraining the goat by its collar or tying it to a stable structure nearby
• Ensuring that the goat is safely secured will make the milking process smoother and reduce the risk of accidents or injuries
• Securing the goat in place allows better control over the situation, making it easier to access the udder and teats without unnecessary movements from the goat
• It is important to ensure that the restraint used does not cause any distress to the animal
• By securing the goat properly, both efficiency and stress-free milking experience for both parties can be ensured
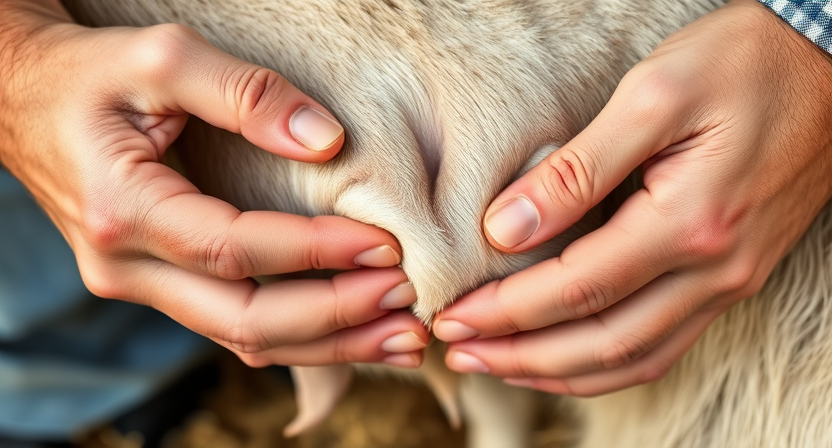
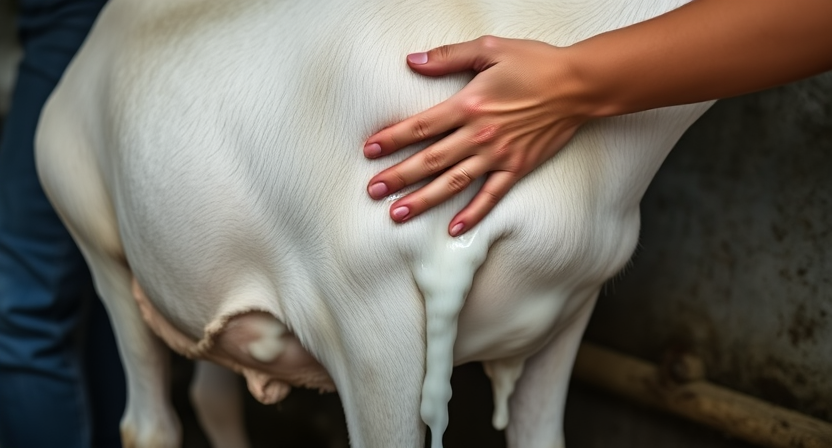
Cleaning the goat’s udder and teats
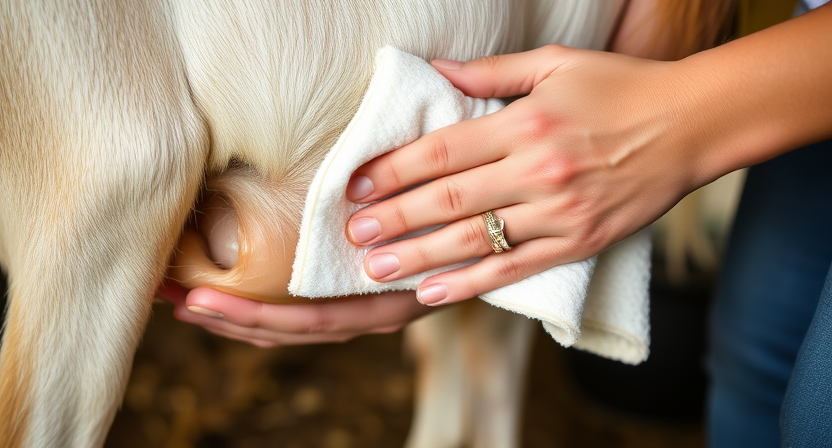
After milking the goat, it is crucial to properly clean the udder and teats to maintain the hygiene and health of the animal. Begin by using a clean, damp cloth to gently wipe away any residual milk, dirt, or debris from the udder and teats. Ensure thorough cleaning to prevent any potential infections or issues that may arise.
It is essential to pay close attention to the cleanliness of the udder and teats as any contamination can affect the quality of the milk and the health of the goat. Proper sanitation practices will also help prevent the spread of bacteria and maintain the overall well-being of the animal. Take the time to clean the udder and teats diligently after each milking session to promote a healthy environment for both the goat and the milk produced.
• After milking the goat, use a clean, damp cloth to wipe away residual milk, dirt, or debris from the udder and teats
• Thorough cleaning is essential to prevent infections or issues that may arise
• Pay close attention to cleanliness as contamination can affect milk quality and goat health
• Proper sanitation practices help prevent bacterial spread and maintain overall well-being of the animal
• Clean udder and teats diligently after each milking session for a healthy environment
Checking for any signs of infection

It is crucial to inspect the udder and teats for any abnormalities that could indicate an infection. Look for redness, swelling, or any unusual discharge from the udder or teats. Additionally, check for any signs of heat or tenderness in the udder, as these could also be indicators of an infection. Pay close attention to the overall health of the goat as well, as infections may manifest through changes in behavior or appetite.
If you notice any signs of infection during the milking process, it is important to take immediate action to prevent the spread of the infection and ensure the health of the goat. Consult with a veterinarian for proper diagnosis and treatment options. In some cases, isolation of the infected goat may be necessary to prevent the spread of the infection to other animals in the herd. By being vigilant and proactive in checking for signs of infection, you can help maintain the health and well-being of your goats and the quality of the milk they produce.
• Inspect the udder and teats for redness, swelling, or unusual discharge
• Check for signs of heat or tenderness in the udder
• Pay attention to changes in behavior or appetite of the goat
• Take immediate action if any signs of infection are noticed during milking process
• Consult with a veterinarian for proper diagnosis and treatment options
• Consider isolating infected goat to prevent spread of infection
Positioning yourself next to the goat
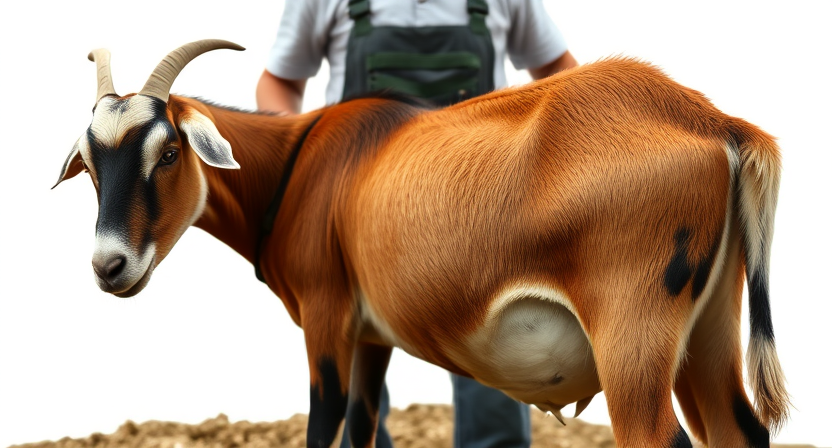
Position yourself securely beside the goat, ensuring that you have a good stance for stability. Keep your posture straight and your movements deliberate as you prepare to begin the milking process. By positioning yourself effectively next to the goat, you will be able to maintain control and focus during the task at hand.
Once you are in position next to the goat, take a moment to adjust your posture and make any necessary final preparations before starting the milking process. Ensure that you are at a comfortable distance from the goat’s udder, allowing for easy access to the teats. Position yourself in a way that allows for a smooth and uninterrupted flow of milk while also maintaining a respectful and gentle approach towards the goat.
• Stand securely beside the goat
• Maintain a good stance for stability
• Keep posture straight and movements deliberate
• Position yourself effectively to maintain control and focus
Once you are in position next to the goat:
• Adjust posture and make final preparations
• Ensure comfortable distance from udder
• Allow for easy access to teats
• Position yourself for smooth flow of milk
• Maintain respectful and gentle approach towards the goat
Placing a clean bucket underneath the goat
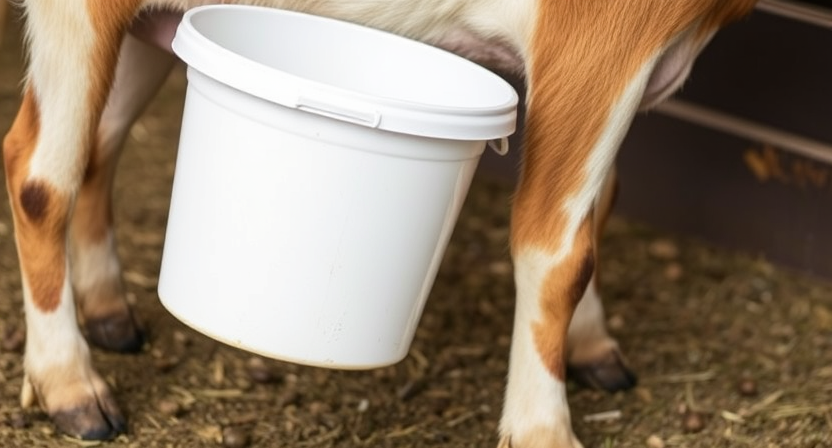
Once you have positioned yourself next to the goat and are ready to begin milking, it is crucial to have a clean bucket placed underneath the goat’s udder. The bucket should be positioned securely to catch the milk as it is expressed from the teats. Ensure that the bucket is stable and won’t tip over during the milking process.
The clean bucket serves as the receptacle for the fresh milk and is essential in maintaining the hygiene and quality of the milk. Positioning the bucket correctly underneath the goat allows for a smooth and efficient milking process, ensuring that the milk is collected safely without any spillage or contamination. Remember to have a designated storage container ready nearby to transfer the milk once the milking is complete.
• Placing a clean bucket underneath the goat is crucial for efficient milking
• Ensure the bucket is stable and securely positioned to catch the milk
• The clean bucket maintains hygiene and quality of the milk
• Positioning the bucket correctly allows for a smooth milking process
• Have a designated storage container ready nearby for transferring milk
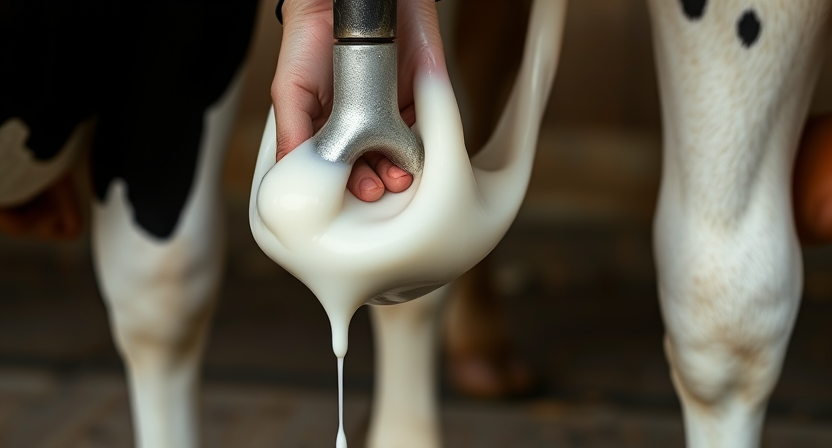
Using gentle but firm pressure to start milking
Once you have positioned yourself next to the goat and ensured the bucket is properly placed underneath, it is time to start milking. Begin by using gentle pressure on the teats to stimulate the flow of milk. This should be done in a firm but not forceful manner, allowing the milk to gradually start flowing into the bucket.
Squeeze each teat individually, starting at the top and working your way down. Apply consistent pressure to encourage a steady stream of milk to come out. Watch closely for any signs of discomfort from the goat, adjusting your technique as needed to ensure gentle and efficient milking process.
• Gently squeeze each teat starting from the top
• Apply consistent pressure to encourage steady milk flow
• Watch for any signs of discomfort from the goat and adjust technique as needed
Squeezing each teat individually

As you squeeze each teat individually, be sure to maintain a steady rhythm. Applying consistent pressure helps to stimulate milk flow and ensures thorough milking. Gently press your thumb and forefinger at the top of the teat, then gradually work your way down towards the base, mimicking the action of a nursing kid.
Observe the milk as it streams out of the teat. A healthy goat typically produces a steady flow of milk with a creamy consistency. If you notice any abnormalities such as clots or discoloration, stop milking immediately and consult with a veterinarian. Remember, the well-being of your goat is paramount in ensuring high-quality milk production.
• Squeezing each teat individually helps stimulate milk flow
• Maintain a steady rhythm while milking
• Gently press thumb and forefinger at the top of the teat and work your way down
• Observe the milk for abnormalities such as clots or discoloration
• Stop milking immediately if you notice any abnormalities and consult with a veterinarian
Watching for a steady stream of milk
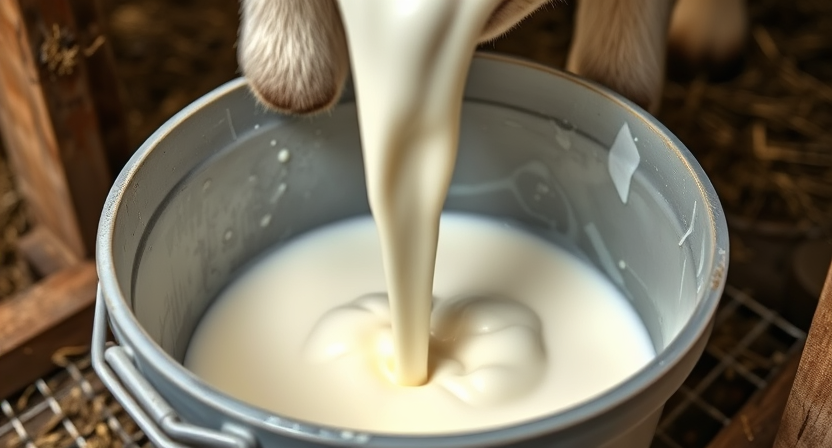
Once you begin milking the goat, observe closely for the appearance of a steady stream of milk. The milk should flow smoothly and consistently from each teat as you apply gentle pressure. If the milk is coming out in spurts or seems to be clotted, it may indicate an issue with the goat’s udder that needs to be addressed.
A steady stream of milk is a good indicator that the goat is healthy and producing milk efficiently. Make sure to continue monitoring the milk flow throughout the milking process to ensure that each teat is completely emptied before moving on to the next one. This step is crucial for maintaining the goat’s udder health and ensuring a successful milking session.
• Once you begin milking the goat, observe closely for the appearance of a steady stream of milk.
• The milk should flow smoothly and consistently from each teat as you apply gentle pressure.
• If the milk is coming out in spurts or seems to be clotted, it may indicate an issue with the goat’s udder that needs to be addressed.
• A steady stream of milk is a good indicator that the goat is healthy and producing milk efficiently.
• Make sure to continue monitoring the milk flow throughout the milking process to ensure that each teat is completely emptied before moving on to the next one.
• This step is crucial for maintaining the goat’s udder health and ensuring a successful milking session.
Switching to the next teat once empty
Once a teat has been fully emptied, it’s time to switch to the next one. This process ensures that all available milk is collected efficiently and prevents any discomfort for the goat. By moving on to the next teat promptly, you can maintain a steady rhythm and flow during the milking process.
Switching to the next teat should be done smoothly and gently, continuing the same gentle but firm pressure as before. This allows for a continuous flow of milk without causing any stress to the goat. Being attentive to each teat individually ensures thorough milking and contributes to the overall well-being of the animal.
• It is important to check for any signs of discomfort or pain in the goat while milking
• Keep an eye out for any abnormalities in the milk, such as clots or discoloration
• Proper hygiene practices should be followed before and after milking to prevent contamination
• Regularly inspecting the teats for any signs of infection or injury is crucial
• Ensuring a comfortable environment for the goat during milking can help improve milk production
Emptying the bucket into a storage container
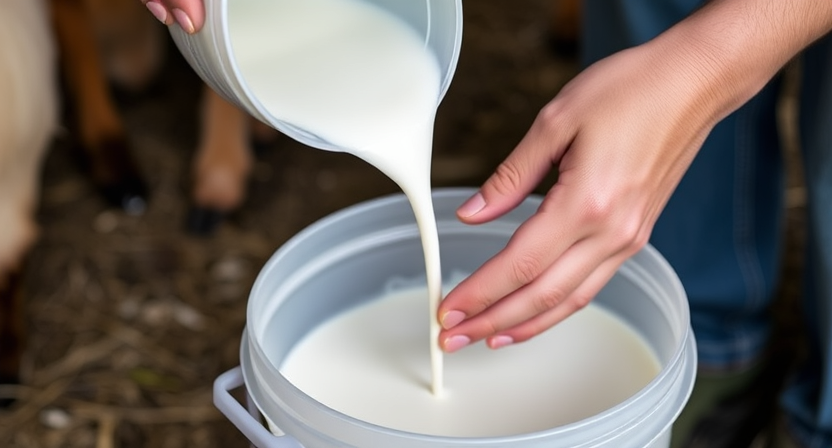
After successfully milking the goat, the next step involves carefully transferring the collected milk from the bucket into a designated storage container. It is essential to handle the milk with care to prevent spillage or contamination. Avoid sudden movements that could cause the milk to splash out of the bucket and onto the ground, as every drop of this precious liquid is valuable.
Once the bucket is carefully emptied into the storage container, ensure that the lid is securely fastened to maintain the freshness and quality of the milk. Proper storage is crucial to preserve the flavor and nutritional benefits of the milk. Store the container in a cool place, such as a refrigerator or a dedicated milk storage area, to keep it at the optimal temperature until ready for consumption or further processing.
• Carefully transfer the collected milk from the bucket into a designated storage container
• Handle the milk with care to prevent spillage or contamination
• Avoid sudden movements that could cause splashing
• Ensure the lid of the storage container is securely fastened
• Proper storage is crucial to preserve flavor and nutritional benefits
• Store in a cool place like a refrigerator or dedicated milk storage area
Continuing to milk until all teats are empty
Once one teat is fully emptied of milk, it is important to switch to the next teat promptly. Failure to do so may result in decreased milk production and potential discomfort for the goat. By alternating between teats in a systematic manner, the milking process can be completed efficiently and effectively.
Observing each teat for a steady flow of milk ensures that the udder is being fully emptied. If any teat appears to have stopped producing milk, applying gentle pressure or massaging the udder may help stimulate milk flow. It is crucial to continue milking until all teats are completely emptied to maintain the goat’s udder health and promote optimal milk production.
• It is important to switch to the next teat promptly once one teat is fully emptied of milk
• Alternating between teats in a systematic manner can help complete the milking process efficiently
• Observing each teat for a steady flow of milk ensures that the udder is being fully emptied
• Applying gentle pressure or massaging the udder may help stimulate milk flow if any teat appears to have stopped producing milk
• Continuing to milk until all teats are completely emptied is crucial for maintaining the goat’s udder health and promoting optimal milk production.
Checking for any signs of discomfort in the goat
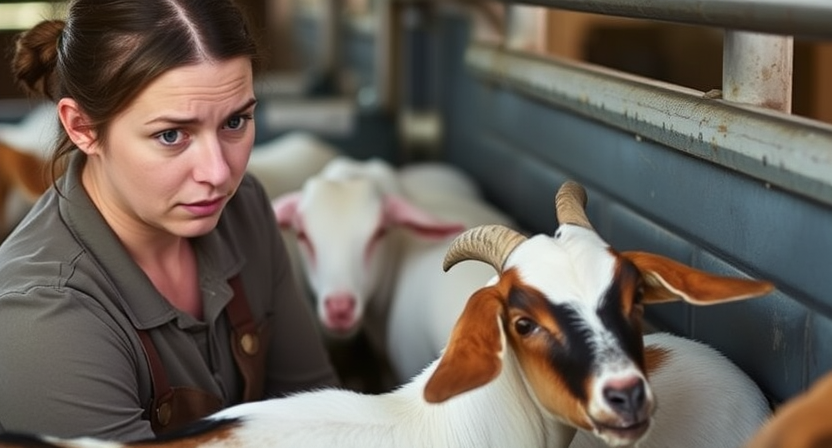
When milking a goat, it is crucial to monitor for any signs of discomfort the goat may exhibit. Signs of discomfort can include fidgeting, vocalizing in distress, or a tense body posture. These indicators may suggest that the goat is experiencing pain or discomfort during the milking process. It is important to address any discomfort promptly to ensure the well-being and comfort of the goat.
Additionally, observing the goat’s facial expressions can provide valuable insights into its comfort level. A relaxed and calm expression indicates that the goat is at ease, whereas furrowed brows or tense facial muscles may suggest discomfort. By paying attention to these subtle cues, you can adjust your milking technique or environment to make the experience more comfortable for the goat. Prioritizing the goat’s comfort not only promotes a positive milking experience but also contributes to the overall health and welfare of the animal.
• Fidgeting, vocalizing in distress, or tense body posture are signs of discomfort
• Observing facial expressions can provide insights into comfort level
• Adjust milking technique or environment to make experience more comfortable for the goat
Cleaning the udder and teats again
After milking the goat, it is crucial to clean the udder and teats again to maintain hygiene and prevent any potential infections. This step ensures that any bacteria or dirt that may have accumulated during the milking process is removed, keeping the goat healthy and the milk clean. By thoroughly cleaning the udder and teats with warm water and a gentle cleanser, you are promoting the well-being of the goat and the quality of the milk produced.
Furthermore, cleaning the udder and teats again also serves as a way to inspect for any abnormalities or signs of infection that may have been missed during the initial examination. By carefully examining the udder and teats for redness, swelling, or discharge, you can promptly address any health issues and provide the necessary care to ensure the goat’s comfort and well-being. This simple yet important task should not be overlooked in your milking routine, as it plays a significant role in maintaining the health of your goats and the quality of the milk they produce.
• After milking the goat, clean the udder and teats again to maintain hygiene
• Removing any bacteria or dirt accumulated during milking process
• Thoroughly clean with warm water and gentle cleanser to keep goat healthy
• Promotes well-being of goat and quality of milk produced
• Cleaning udder and teats helps inspect for abnormalities or signs of infection
• Carefully examine for redness, swelling, or discharge
• Promptly address any health issues found
• Ensures comfort and well-being of the goat
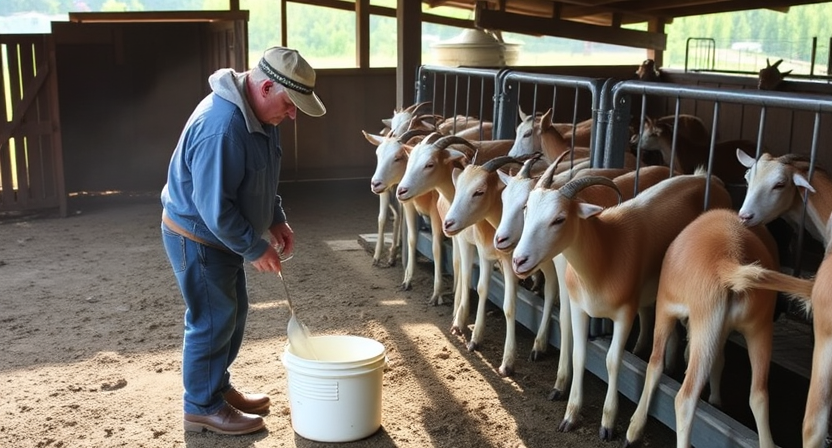
Providing a treat for the goat as a reward

After the milking process is complete, it is important to reward the goat for its cooperation and patience. Offering a treat serves as positive reinforcement and helps create a pleasant experience for the goat. Choose a treat that the goat enjoys, such as a handful of grains or a small piece of fruit. By giving the goat a treat after milking, you are reinforcing good behavior and creating a positive association with the milking routine.
Providing a treat not only rewards the goat but also helps build trust between you and the animal. Offering a treat shows appreciation for the goat’s contribution to milk production and can help strengthen the bond between the two of you. Remember to give the treat in a calm and gentle manner to ensure a positive experience for the goat.
• After the milking process, offer a treat to reward the goat for its cooperation
• Choose a treat that the goat enjoys, such as grains or fruit
• Giving a treat reinforces good behavior and creates a positive association with milking
• Providing a treat helps build trust between you and the goat
• Offering a treat shows appreciation for the goat’s contribution to milk production
• Give the treat in a calm and gentle manner to ensure a positive experience
Storing the milk in a cool place
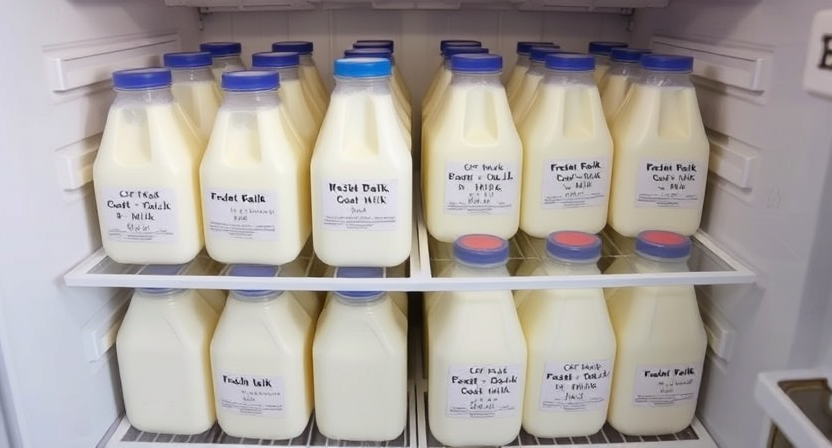
After milking the goat, it is crucial to store the fresh milk in a cool place to maintain its freshness and prevent bacterial growth. Placing the storage container in a refrigerator with a temperature set between 37-40°F (3-4°C) is ideal for preserving the milk’s quality. Remember to use opaque containers to shield the milk from light exposure, as light can degrade the milk’s flavor and essential nutrients. Additionally, ensure that the storage container is tightly sealed to prevent any contaminants from affecting the milk.
When storing fresh goat milk, it is best to use it within 5-7 days for optimal taste and quality. The milk may develop a slightly goaty flavor over time, so it is recommended to consume it sooner rather than later. If you are unable to consume the milk within this timeframe, consider freezing it in airtight containers to prolong its shelf life. Before consuming frozen milk, ensure it is thoroughly thawed in the refrigerator and gently stirred to recombine any separated fat.
• Store fresh milk in a cool place to maintain freshness
• Use a refrigerator with a temperature set between 37-40°F (3-4°C)
• Use opaque containers to shield milk from light exposure
• Ensure storage container is tightly sealed to prevent contaminants
• Consume fresh goat milk within 5-7 days for optimal taste and quality
• Milk may develop a slightly goaty flavor over time
• Consider freezing milk in airtight containers if unable to consume within timeframe
• Thaw frozen milk in the refrigerator before consuming
Cleaning all equipment thoroughly
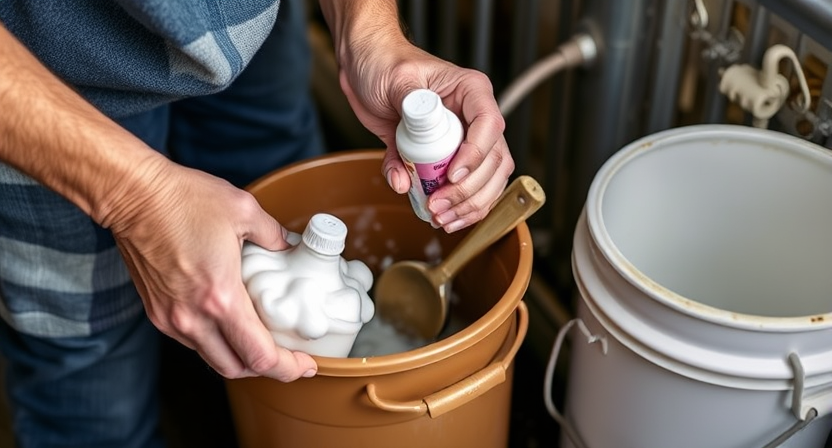
Once the milking process is complete, it is essential to thoroughly clean all equipment used. Start by rinsing the bucket and any milking tools with warm water to remove any milk residue. Use a mild detergent or a cleaning solution recommended for dairy equipment to wash all surfaces and components carefully. Make sure to scrub away any buildup or dirt to prevent contamination in future milkings.
After washing, rinse all equipment with clean water to remove any soap residue. Next, sanitize the bucket, teat cups, and any other tools with a food-grade sanitizer to kill any remaining bacteria. Allow all equipment to air dry completely before storing it in a clean and dry area. Regular and thorough cleaning of all milking equipment is crucial to maintain the quality and safety of the milk produced.
• Rinse the bucket and milking tools with warm water
• Use mild detergent or cleaning solution recommended for dairy equipment
• Scrub away any buildup or dirt to prevent contamination
• Rinse all equipment with clean water to remove soap residue
• Sanitize the bucket, teat cups, and other tools with food-grade sanitizer
• Allow all equipment to air dry completely before storing it in a clean area.
Repeat the process daily for optimal milk production
Consistency is key when it comes to milking goats for optimal milk production. By establishing a daily routine, you ensure that the goats are comfortable and the process remains efficient. It is important to maintain a regular milking schedule to prevent any discomfort or potential health issues for the goats.
Regular milking also helps to stimulate milk production and maintain the health of the udder. By repeating the milking process daily, you promote a healthy milk supply and establish a strong bond with the goats. This daily routine not only benefits the goats but also ensures that you have a steady and reliable source of fresh milk for your needs.
• Ensure that you milk the goats at the same time each day
• Make sure to clean and sanitize all milking equipment before and after each use
• Check the udder for any signs of infection or injury before starting the milking process
• Gently massage the udder to stimulate milk flow before beginning to milk
• Be patient and gentle with the goats during the milking process, as this will help them relax
• Monitor the amount of milk produced daily to track any changes in production